

3D Print Testing for Ultimaker 2 Extended plus
- Mohamed Khaled

- Sep 26, 2018
- 3 min read
Updated: Oct 11, 2018
This task is to test the printing performance of the Ultimaker printer, we work as a team of four, we started with getting to know the printer it self then set up Cura to get our gcode file to print, then we search for a good design that contain most of the possible shapes that test the printer ability to print it.

What is Ultimaker 2 Extended plus ?
Ultimaker 2+ is Engineered to perform, the Ultimaker 2+ is reliable, efficient, and user-friendly. Thanks to its support of a wide range of materials ( PLA, ABS, CPE, CPE+, PC, Nylon, TPU 95A ), it’s suitable for a huge variety of applications, from prototypes to customized tools. It’s a great all-around 3D printer that delivers consistent results.
How to prepare your design to be printed using Cura?
1. First we opened Cura.

2. Then we opened the design we chose, click File, then Open File(s), then chose your design file (.stl), then click Open.


3. Now after importing your design to the Cura, we will chose the printer and the material.


4. Now yo can change the Nozzle width, the Layer Height and the Infill percentage.

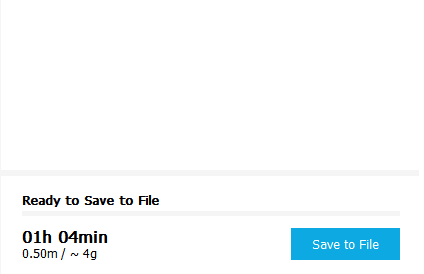
5. Now after changing the Print Setup as you like you will click Prepare to get you design sliced to be ready to print, it will give you the Time it will take and the result Weight.


6. you can change the viewing to Layer View to see the printing result simulation and the layers, you can move the height of the layers to see the details, the colors will represent Shell Layer, Infill, Inner wall, Travels, and helpers.


7. by clicking Layer view this is what will be printed to you as the result so you can change it if you want to see more details or to reduce the quality to print faster, if yo won't change the result click Save to File to save your design in .gcode file to be printed.

Now after saving your file in .gcode you copy it into the SD card of the printer to put it in the printer to print.
How to print your design on Ultimaker 2 Extended plus?
1. first you will have to have your design in a .gcode file format.
2. then copy it to the SD card of the printer.


3. After putting it on the card insert the card in the printer, then click on print, then move the button around to go up and down to find you design name then click it and it will be automatically start.


This video shows how to Find and Print your design:
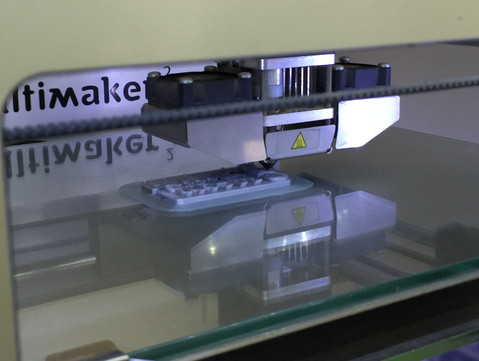
Then now you wait for the printer to print:
1. First the Nozzel start heating.
2. When the Nozzel is heated it will start the print the prime.


3. After that it will start printing your Design.
4. The printer will give you the time left to the print is finished.


5. After it finish the design you leave it till tit cool down and it will tell you that the design is ready and remove it.


The result:


The final result after cleaning.


Comparing between the 3D printed design and test file parameters
In this part, we compared between the printed out design and the test file by accurately measuring different dimensions on the printed part using a "Vernier Caliper", as shown in the figure below, and previously knowing the dimensions and parameters of the test file.
Using this table below, taken from the member in "FabAcademy" who carried out this test before, we were able to compare between the test file parameters and the test result of the part printed on Ultimaker 2 Extended +.

references:
https://www.thingiverse.com/thing:1019228
http://archive.fabacademy.org/2017/fablabsingapore/students/172/exercise05.html
https://drive.google.com/open?id=1w89ilW8M0Fvhboeb8ec0fI_ZpMEFENO8


Comments